 WINDOWS INSTALLATION WINDOWS INSTALLATION
Minimum Resource Requirements
ASN1VE for Windows has been tested on Windows XP, Vista, and Windows 7 operating systems. It is possible that it would work on older systems, but this has not been confirmed.
At least 40 MB of disk space is required on the target system.
Write access to the Registry and directory into which the application is installed is required.
Running the Installation Wizard Program
This section explains how to run the Windows installation wizard setup program.
A distribution setup file containing the complete ASN1VE application should have been provided. This would be an executable file with a name in the following format:
asn1vev22xw32.exe
where 22x would be replaced with the current version number (for example, 220).
Double-click this file to launch the Wizard. The first window that should appear should be the welcome screen as follows:
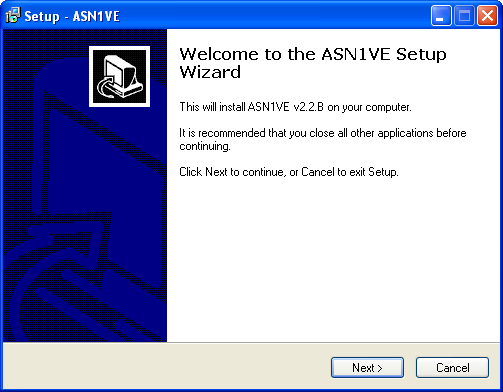
This is a basic welcome screen that provides the version number and other details of the product. Click Next > .
The next screen that is displayed is the License Agreement screen:
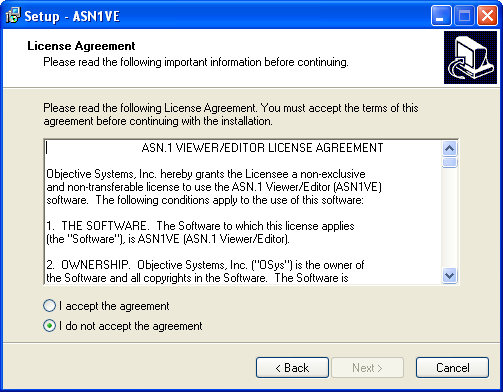
The user should carefully read and understand the license terms. Once this is done, the "I accept the agreement" radio button must be clicked to enable the Next > push button.
The Next > push button may now be clicked to move to the next screen:
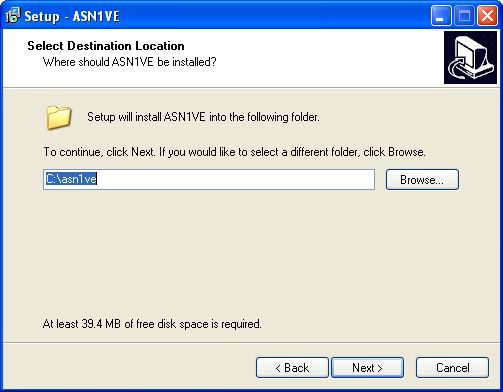
This allows the user to specify the location in which ASN1VE is to be installed. By default, the product is installed in C:\asn1ve. Some users may prefer to keep versions separate by changing this name to C:\asn1ve_v22x where 22x would be replaced with the current version number (for example, 220). It is also possible to install the product in the Windows Program Files directory (the product can handle path names with embedded spaces).
In general, it is not a good idea to install a new major release on top of an existing release. The older release should first be uninstalled. For minor patch releases, it should be OK to do this.
Note that this window also shows the actual amount of disk space required for the product.
Once a location has been selected, click Next > to continue. The following screen will be displayed:

This window allows a Start Menu folder to be specified. In general, Objective Systems ASN.1-related product are grouped in the ASN1C group, but it is possible to choose a different group.
Once specified, click the Next > push button. The following window will appear:
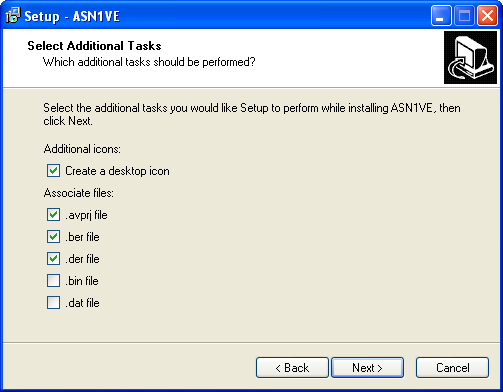
This allows a user to specify creation of a desktop icon as well as file extension associations. Of these associations, the .avproj file assocation will cause ASN1VE to be launched into project mode to read in all details of the selected project. All other associated files are assumed to be binary files containing ASN.1-encoded data to be loaded. ASN1VE will launch into the Open File dialog upon activation of files with these extensions. Additional associations may be added through the Windows Explorer file extension association feature.
Once the parameters on this window have been accepted, Next > may be clicked. This will result in the display of the final setup screen which provides a summary of all data that has been entered:
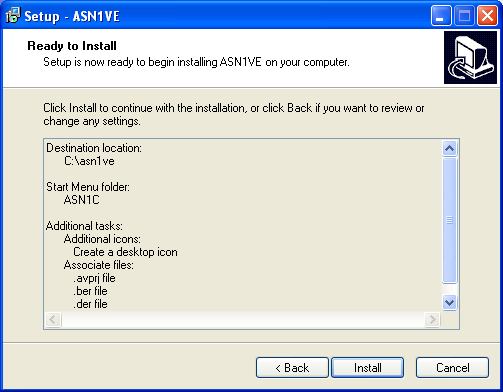
Clicking Install will complete the setup procedure. The user may user the < Back button to go back and change anything that was entered prior to doing this last step.
|