In this section, we will demonstrate running ACGUI, creating a new ASN.1 schema, and compiling it to C for BER data. The process is similar for other languages.
First, start ACGUI. You may see the window below asking you to activate a license key.
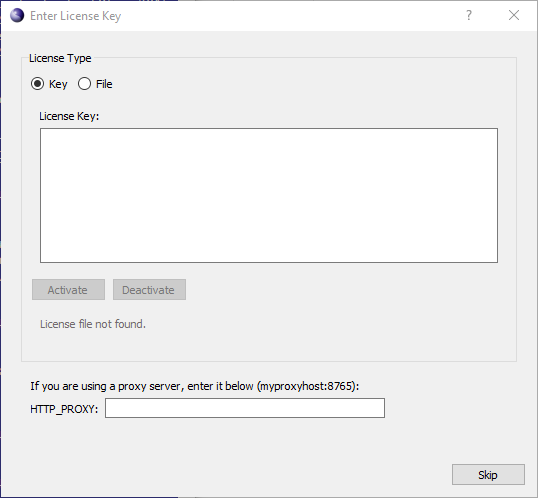
If you see this window, and it's not showing a current license key, you can right click in the text box and paste in your license key. Then click the Activate button to unlock ASN1C.
In some cases, however, the window will appear and show a current license key. In these cases the key being shown is probably expired. You need to deactivate the current key first by clicking the Deactivate button. Then you can right click in the text box and paste in your current license key. Then click the Activate button to unlock ASN1C.
If you have an osyslic.txt license file in a location where the GUI doesn't look, you can click the Import button to find that file and use it to unlock ASN1C instead of activating a key.
If you click the Skip button, you can expore the features of the GUI, but you will not be able to generate any code.
Should you ever need to activate a different license key even though you have a current one (for example, you purchase ASN1C before your evaluation key expires), you should deactivate the existing license first. This deactivation can be done from the GUI by choosing Tools...Options and then clicking on the License tab. You will see a window similar to this one:
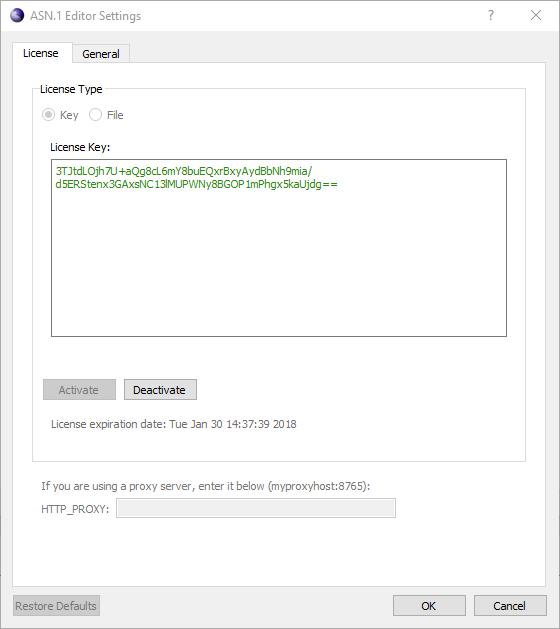
Click the Deactivate button to deactivate the existing license. You can then do the same sequence to bring up the window again and activate your new key.
Once the program is running, we'll create a new project to store all of our settings. To do this, select "Project->New Project..." from the menus.
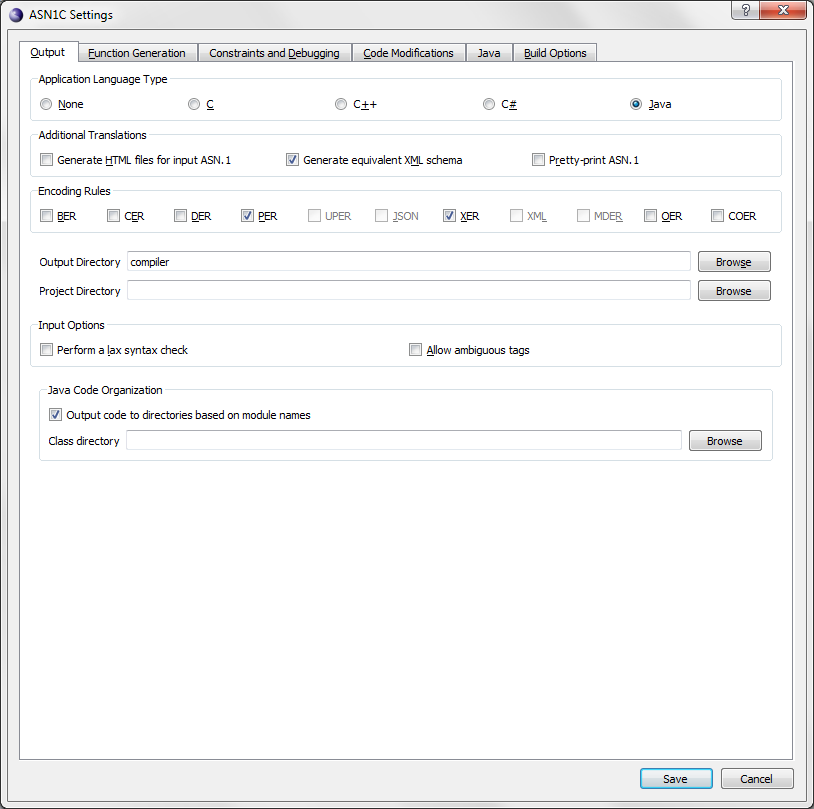
In the first tab, "Output", under "Application Language Type", select "C". Below that, under "Encoding Rules", select "BER". Finally, choose an output directory for the generated files. Once the settings are correct, click "Save". These settings can be changed at any time by selecting "Project->Project Settings..." from the menus.
Next, we'll create a new schema file for our project. Click the "New" button in the toolbar or select "File->New Schema File" from the menus. A dialog box will be shown to provide a name for the new file. Once entered, the file will be added to the project window under "Schema/ASN.1 files" and its empty contents will be shown in the editor.
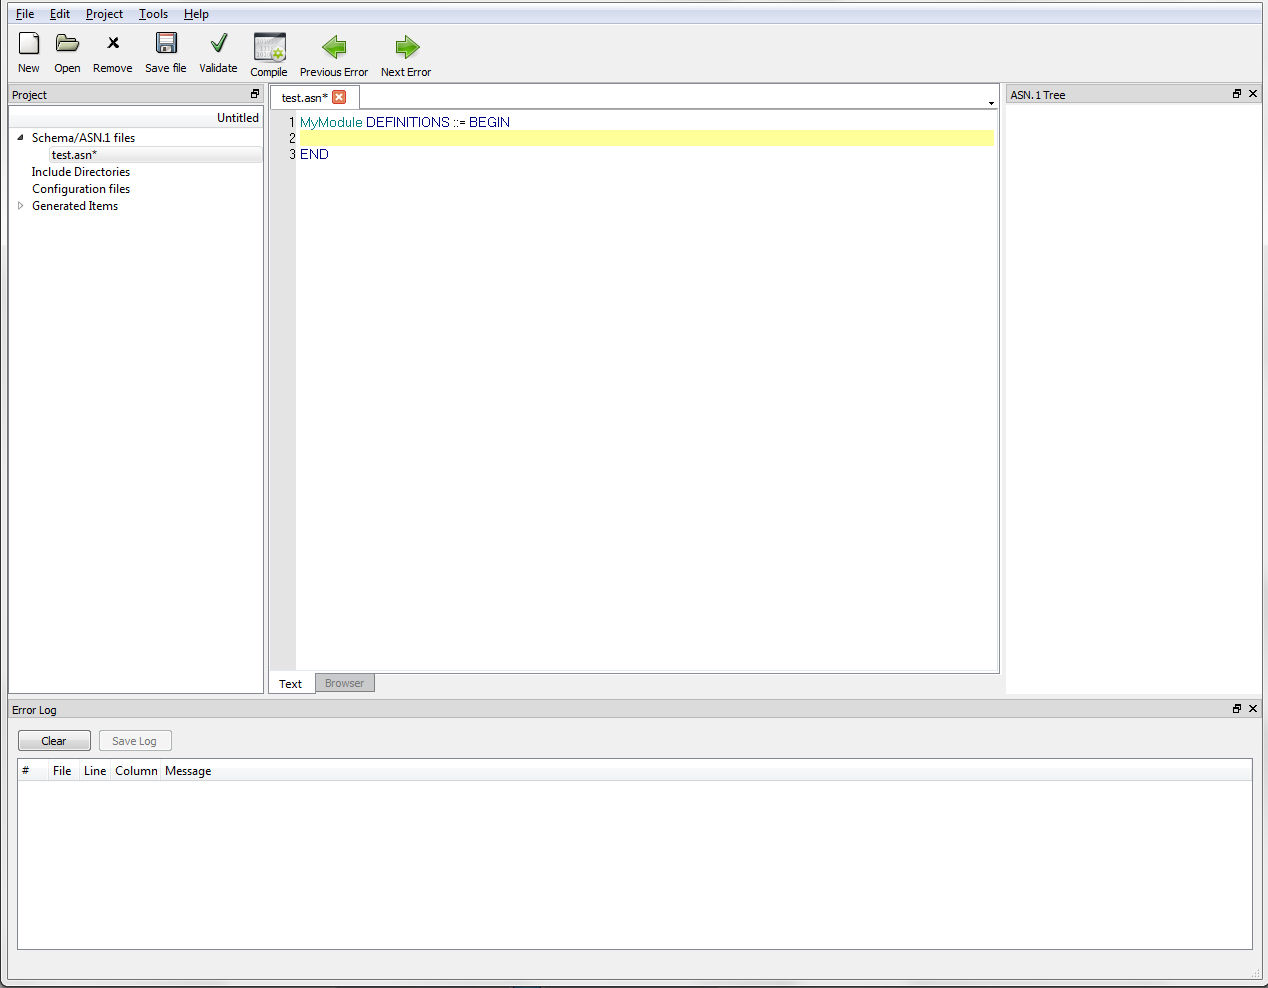
Now we need to write our schema between the "DEFINITIONS ::= BEGIN" and "END" statements in the file. Enter something like:
MySequence ::= SEQUENCE {
    ingredient PrintableString,
    count INTEGER,
    units PrintableString
}
When you are satisfied with the schema you've created, click the "Validate" button to make sure there are no errors. Since the new schema file hasn't been saved yet, ACGUI will ask if it should be. Save the new file and ACGUI will then validate it. If the schema has errors, the log at the bottom of the window will show them. Otherwise, it is safe to move on.
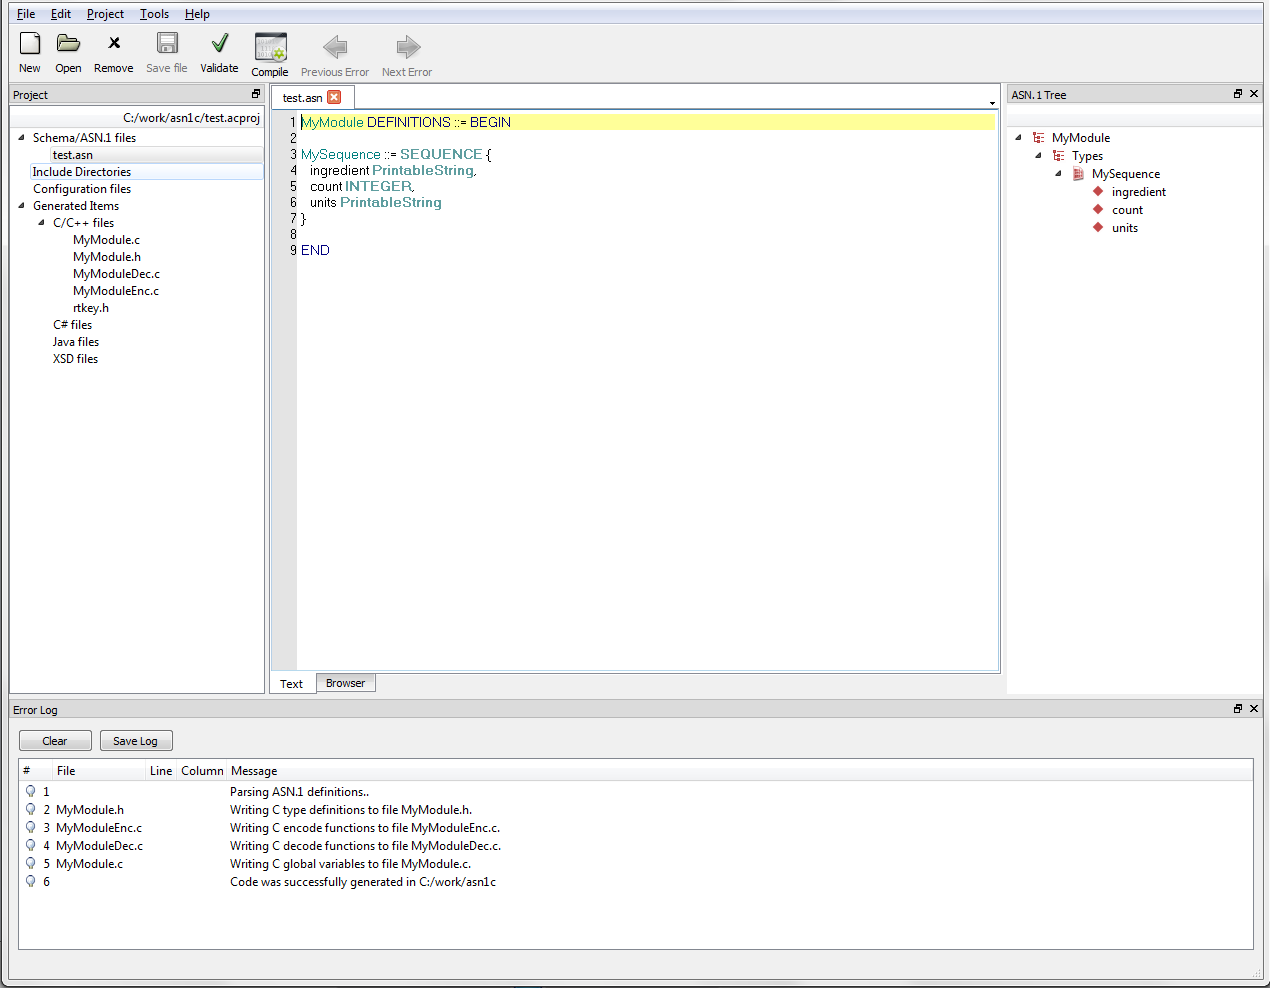
Since we've already set up our project, we can click the "Compile" button to generate code according to our project settings. If all goes well, the project window will show a list of generated files under "Generated Items" in the section for the selected language. If there were any errors, they will be shown in the log.
At this point, project settings can be changed and schema files can be edited as needed.